Window tint · 8 min read
How to tint car windows: DIY steps, tools and removable car tint
Removable car tint and DIY window tinting explained: the tools you need, precut kits vs rolls, and step-by-step instructions for applying auto window tint.
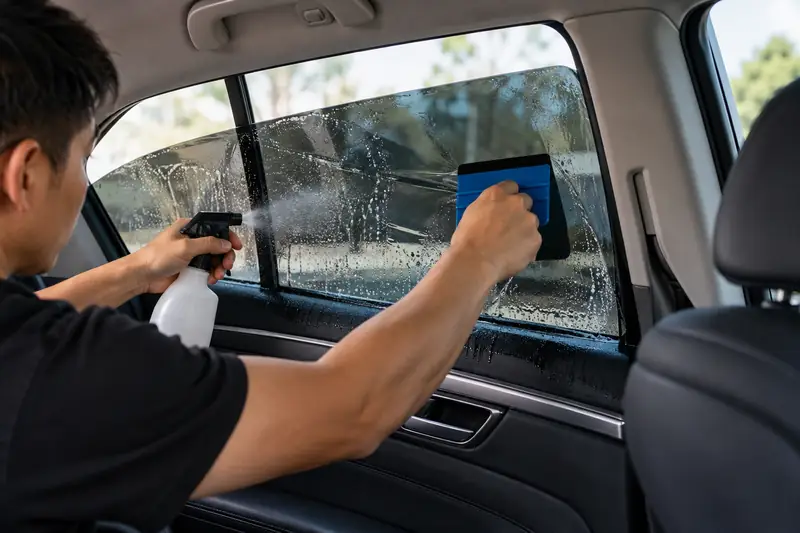
Short answer: To tint car windows, clean the glass thoroughly, cut and shape the film on the outside of the glass, spray the inside with slip solution, peel the liner, lay the adhesive side onto the inside glass and squeegee out water and air. Removable car tint uses static cling or low-tack film that peels off without residue.
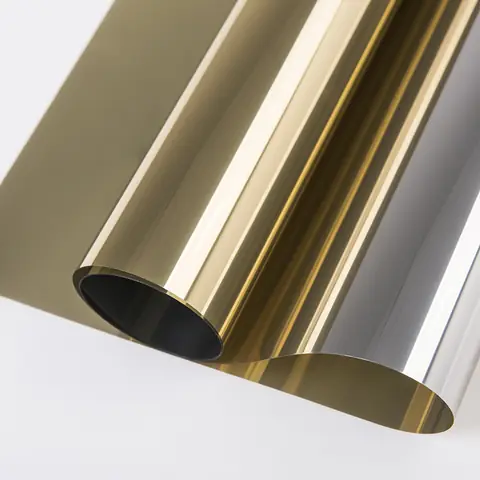
Removable car tint and DIY window film kits have made tinting look like a weekend job. It can be, on simple side windows, but a clean result depends on preparation, the right tools and a patient technique. This guide explains how to put tint on car windows step by step, which auto tint tools you actually need, when precut kits make sense and what removable tint can and cannot do. It is written for DIY owners and for new installers setting up a tint bay.
Key takeaways
- Window tint is installed on the inside of the glass, but cut and shaped on the outside, then transferred in using slip solution.
- Clean glass is the single biggest factor in a good result; dust and hair cause most bubbles and specks.
- Curved rear windows need heat shrinking with a heat gun; flat side windows are the easiest place to start.
- Removable car tint (static cling or low-tack film) is useful for temporary or seasonal use, but usually offers less heat rejection and durability than adhesive film.
- Tint laws vary by country and state, especially for front windows and windshields. Check local rules before choosing a shade.
What is removable car tint?
"Removable" can mean two different things, and customers often mix them up.
- Static cling tint: thin film with no adhesive that holds to the glass by static and a light wet application. It peels off by hand and can often be reused. It is popular for temporary use, rentals, or people who want to switch between dark and clear seasonally.
- Standard adhesive tint: all professional window film is technically removable. It comes off with steam or gentle heat and careful peeling, then the adhesive residue is cleaned off the glass. It is not designed to be reapplied.
Static cling film is easy to try, but it is generally thinner, can show edges and may not stay perfectly flat in very hot or cold weather. Adhesive films, especially ceramic ones, give far better heat rejection and clarity. If heat is the goal, read our guide to ceramic window tint before choosing.
Auto tint tools: what you need
You do not need a huge kit, but each tool solves a specific problem.
| Tool | What it does | DIY essential? |
|---|---|---|
| Spray bottle with slip solution | Lets the film float into position | Yes |
| Hard card or scraper | Removes stubborn dirt and debris from glass | Yes |
| Glass cleaner and lint-free towels | Final cleaning of glass and gaskets | Yes |
| Tint squeegee (soft and hard) | Pushes water and air out from under the film | Yes |
| Sharp snap-off knife with fresh blades | Trims the film to shape | Yes |
| Heat gun | Shrinks film to fit curved glass | Needed for rear windows |
| Long-handled bottom-edge squeegee | Pushes water out at the bottom edge and under gaskets | Helpful |
| Lint-free wrap for squeegee | Prevents scratches and absorbs water | Helpful |
| Towels to protect door panels | Keeps water away from electronics and trim | Yes |
Professional car tint tools also include long-handled squeegees for rear windows, gasket tools and edge-sealing cards. Our wrap tools range covers squeegees, knives and kits that suit tint work as well as vinyl.
Slip solution
A simple slip solution is clean water with a few drops of baby shampoo or a dedicated tint mounting solution. Too little soap and the film grabs before you can position it; too much and it takes longer to tack. Mix a fresh bottle for each job.
Precut tint for cars vs tint rolls
Precut window tint kits for cars are cut to fit a specific make and model, usually by a plotter from a pattern database. A tint roll requires you to cut each window by hand.
| Precut kit | Tint roll | |
|---|---|---|
| Skill needed | Lower | Higher, especially for trimming |
| Fit | Usually good if the kit matches the exact model and year | As good as your trimming |
| Waste | Low | Higher while learning |
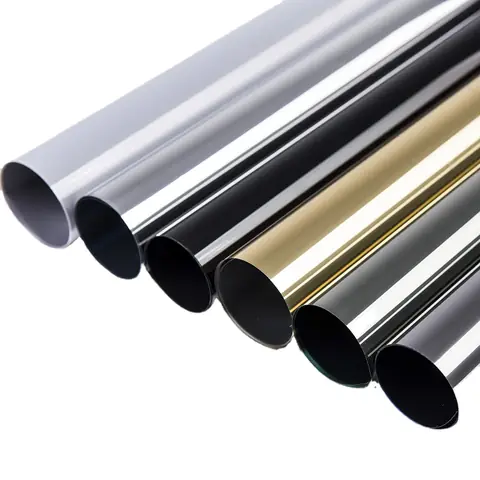
| Shade options | Limited to what the kit seller offers | Any shade you can buy on a roll |
| Cost per car | Higher per square foot | Lower once you tint regularly |
For a single DIY car, a precut kit from a reputable seller is often the best DIY auto tint option. For a shop, rolls plus a plotter or confident hand-trimming give the best margin and flexibility.
How to install car window tint: step by step
These steps cover a typical side window. Rear windows follow the same idea with an added heat-shrinking stage.
- Work in a clean, sheltered space. A garage with the doors closed and the floor damped down reduces dust. Avoid direct sun and wind.
- Clean the outside of the glass. You will use the outside as your cutting and shaping template.
- Rough-cut the film. Spray the outside of the glass, lay the film liner side out, and cut it a little larger than the window.
- Trim to shape. Lower the window about an inch, trim the top edge along the glass edge, then raise the window and trim the sides and bottom so the film sits just inside the gasket line. With a precut kit, simply check the fit.
- Deep-clean the inside of the glass. Spray, scrape with a hard card, squeegee, and repeat. Clean the gaskets and the bottom edge where dirt hides.
- Peel the liner. Spray the adhesive side generously as you peel so it does not collect dust or stick to itself.
- Spray the inside glass and lay the film. Slide the film into place with the top edge just below the glass edge, leaving a small even gap.
- Tack and squeegee. Lock the film in place with a first stroke across the middle, then squeegee from the center outward, top to bottom. Use firm, overlapping strokes.
- Push water out at the bottom. Lower the window slightly if needed and use a long-handled bottom-edge squeegee under the gasket.
- Check and finish. Look for trapped dirt or bubbles while the film is still wet and fix them now. Wipe the edges dry.
Tinting a curved rear window
Most rear windows are curved in two directions, so flat film forms "fingers" along the edges. Installers lay the film on the outside of the glass, spray lightly, and use a heat gun to shrink those fingers until the film lies flat, then clean, transfer and squeegee as above. Heat shrinking takes practice. If you are new, start with side windows and leave the rear glass for a professional. Watch the defroster lines: squeegee along them gently, not across them hard.
Curing time and aftercare
Film looks hazy or has small water pockets for a few days while the remaining moisture evaporates. That is normal. Cure time depends on temperature, humidity and film thickness, typically several days and longer in cold weather.
- Keep windows closed for the period the film maker recommends, usually a few days, so the bottom edge does not peel.
- Do not clean the inside of the film until it has cured.
- Clean later with a soft cloth and ammonia-free cleaner.
- Do not use scrapers or abrasive pads on tinted glass.
DIY car window tint vs professional car tint installation
DIY makes sense for simple side windows, budget projects and removable static cling. Professional installation makes sense for rear windshields, windshield strips, ceramic films where the cost of wasted film is higher, and any job where a perfect finish matters. A professional car tint installer also knows local shade limits and offers a workmanship guarantee. In many US markets, professional tinting for a full sedan typically costs somewhere around $150–$400 for standard film and more for ceramic film, varying by region, vehicle and shop.
Before you pick a shade, check local tint law, including any limits on reflectivity and on front side windows. Our window tint VLT guide explains how VLT works and how film and factory glass combine.
Buying tint film for your shop
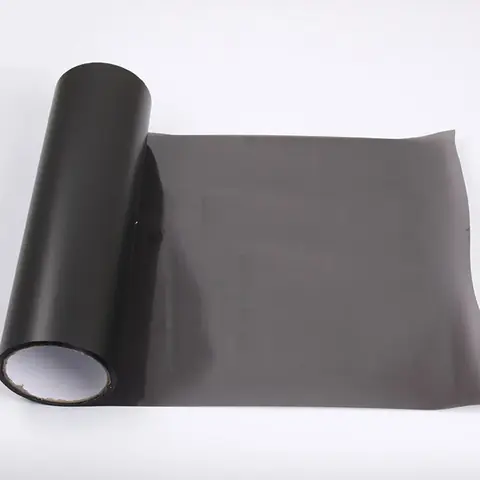
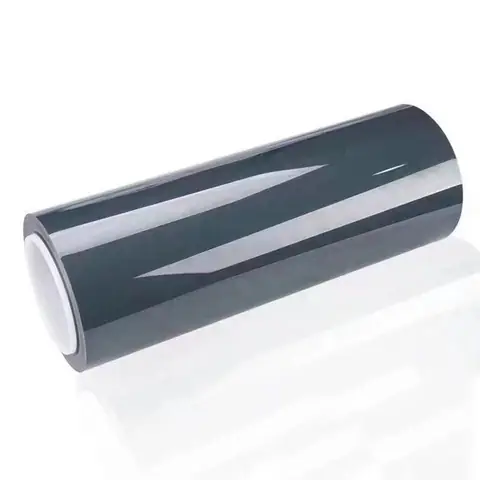
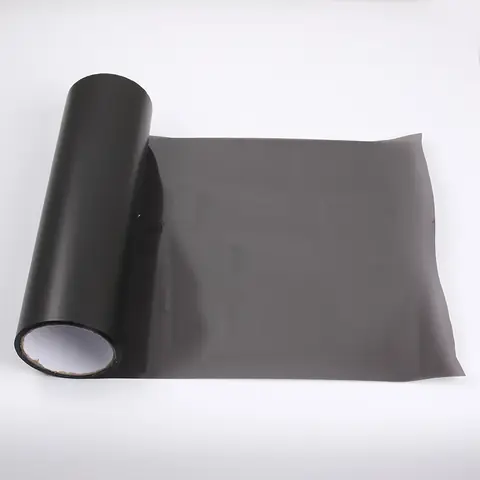
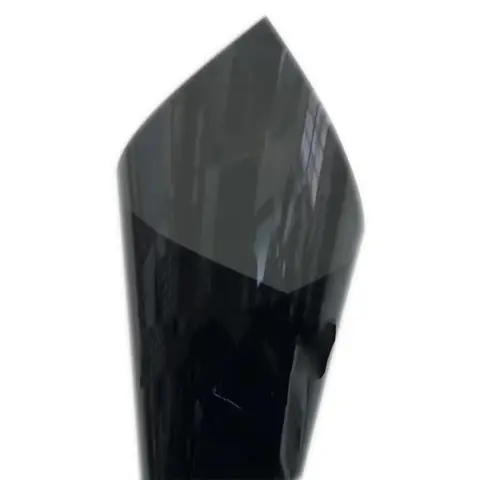
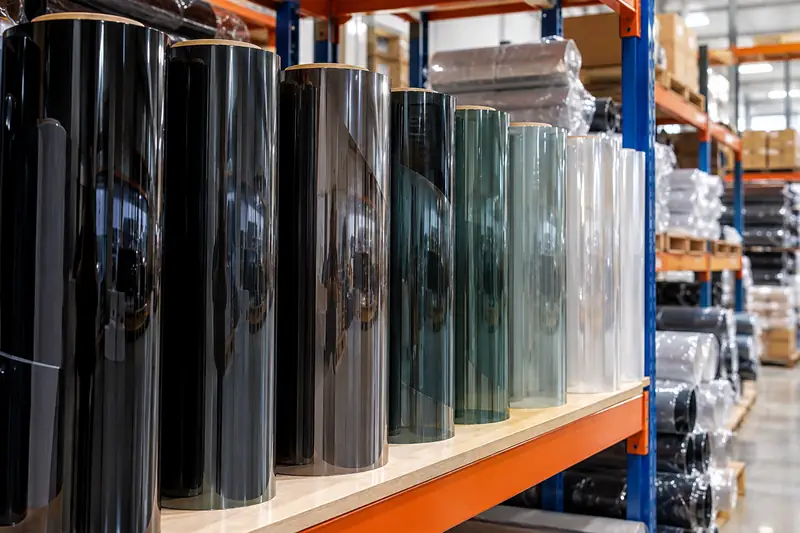
New tint bays usually start with a small set of shades in standard and ceramic film, a heat gun and a full squeegee kit. Mars Decorative Film supplies window and light tint film in full rolls with every roll batch-numbered, and qualified buyers can request free samples to test how the film handles during heat shrinking before ordering.
Frequently asked questions
How do you put tint on car windows?
Clean the glass inside and out, cut and shape the film on the outside of the window, then spray the inside with slip solution, peel the liner and lay the film in place. Squeegee out water and air from the center outward and let it cure for several days before rolling the window down.
How do you apply window tint film without bubbles?
Bubbles usually come from dirt, too little slip solution, or not enough squeegee pressure. Clean the glass twice, keep the adhesive side wet while peeling, and use firm overlapping strokes. Small water pockets usually disappear as the film cures; dust bubbles do not.
What is the best DIY auto tint?
For most beginners, a quality precut kit made for the exact car model is the easiest route because the hardest trimming is already done. Choose a film from a consistent manufacturer and a shade that is legal where you live.
Can removable car tint be reused?
Static cling tint can often be removed and reapplied a few times if it is kept clean and stored flat. Adhesive tint is removable but not reusable; once peeled, it is discarded.
Do I need a heat gun to tint car windows?
Not for most flat side windows. A heat gun is needed to shrink film to fit curved rear windows and some strongly curved side glass. Use moderate heat and keep the gun moving.
How long after tinting can I roll down the windows?
Typically a few days, but follow the film maker's guidance and wait longer in cold or humid weather. Rolling the window down too early can catch and lift the bottom edge.
Is DIY tinting cheaper than professional installation?
For one car, a DIY kit usually costs less than a professional job, but wasted film and a second attempt can close the gap. If you plan to tint several cars or want a guaranteed finish, professional installation or proper training is usually the better value.