PPF · 8 min read
Paint protection film installation: tools, slip solution and steps
Paint protection film installation step by step: PPF tools, slip and tack solution mixes, pre-cut kits vs bulk film, plotters and common mistakes.
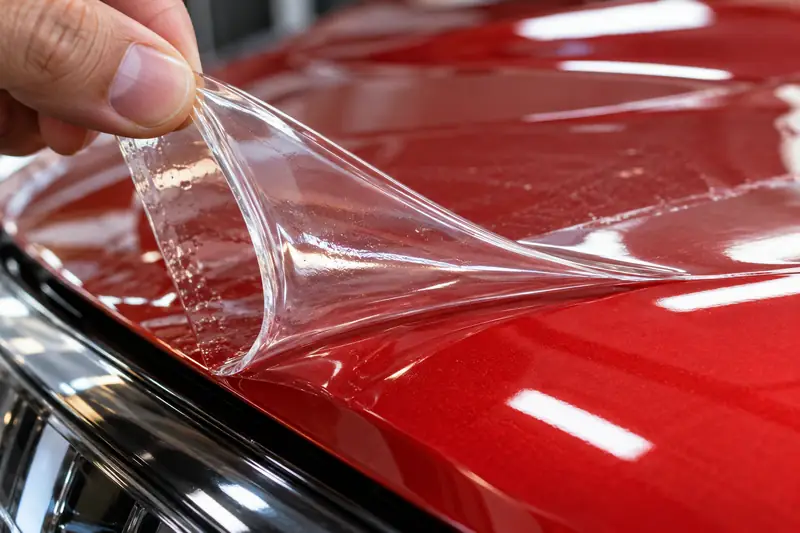
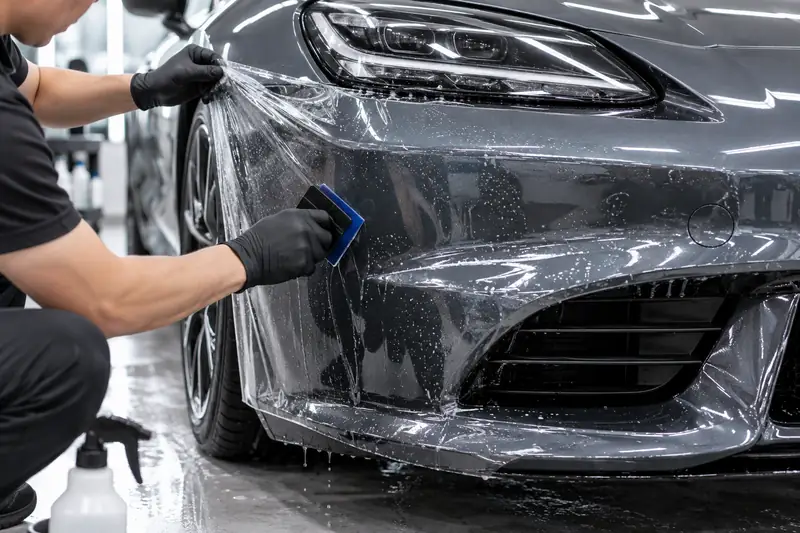
Short answer: Paint protection film installation is a wet process. The paint is decontaminated, the TPU film is sprayed with slip solution so it can be positioned, then tack solution and a squeegee anchor it and push the water out. Edges are wrapped or trimmed, and the film cures over several days. Pre-cut kits reduce knife work on paint.
Paint protection film installation looks simple on video and takes months to master in practice. The film is thick, it stretches differently from vinyl, and every speck of dust under it stays visible for years. This guide walks through how to apply PPF properly: the tools, the slip and tack solutions, pre-cut kits versus bulk film, plotters and cutting software, and the steps a professional installer follows. It is written for new PPF installers, wrap shops adding protection film, and owners deciding between a DIY PPF kit and a professional job.
Key takeaways
- PPF is installed wet: slip solution lets the film float into position, and tack solution helps it grab once placed.
- A common slip solution is clean water with a small amount of mild, no-additive baby shampoo; tack solution is commonly water mixed with isopropyl alcohol.
- Paint prep (wash, decontaminate, clay, light polish where needed) decides the final result more than squeegee skill.
- Pre-cut PPF kits made with a plotter and pattern software reduce knife work on the paint; bulk film gives more control over edges and wrapped panels.
- Most clear and color PPF is TPU on a release liner, typically supplied in 1.52 m wide rolls.
- Allow the film to cure, usually several days, before washing or heavy driving.
PPF installation tools
A professional PPF tool kit is not expensive compared with the film, but each item matters.
| Tool | What it does | Notes |
|---|---|---|
| PPF squeegee (hard and soft) | Pushes slip solution out from under the film | Flexible, rounded-edge blades for curves; firmer blades for flat panels |
| Spray bottles (2–3) | Slip solution, tack solution, plain water | Use clearly labeled, pressure-type sprayers |
| Clay bar or clay mitt | Removes bonded contamination from paint | Any grit under film shows forever |
| Isopropyl alcohol solution | Degreases panels and edges | Also used in tack solution |
| Lint-free microfiber towels | Wiping and drying edges | Keep dedicated towels for PPF only |
| Precision knife with snap-off blades | Trimming bulk film | Light pressure only; never score paint |
| Heat gun | Relaxes film on curves and helps set edges | Low, even heat; follow the film's guidance |
| Lift or tuck tools | Tucking edges into gaps and seals | Plastic, not metal, near paint |
| Lighting | Shows dust, fingers and bubbles | Bright, diffused shop lighting is essential |
Squeegees, knives, tapes and full kits are all in our wrap and PPF tools range. Choose squeegee hardness to suit the panel: softer blades on curves, firmer ones on flat areas.
PPF slip solution recipe and tack solution
Two solutions do most of the work in paint protection film application.
Slip solution
Slip solution reduces the adhesive's grab so the film can be lifted and moved. A widely used mix is clean (ideally filtered or deionized) water with a few drops of mild, additive-free baby shampoo per liter. Too much soap and the film takes a long time to tack up and can lift at edges; too little and the film grabs before it is in position. Many installers adjust slightly for the film, temperature and humidity.
Tack solution
Tack solution does the opposite: it helps the adhesive grab in a specific area, such as an anchor point or an edge. It is commonly a mix of water and isopropyl alcohol. Installers spray it on the paint under a lifted section, or flood it under an edge, so that area sets quickly.
Always check the film maker's data sheet or install guide. Some films are designed for particular mixes, and harsh additives can affect the adhesive or top coat.
Pre-cut PPF kits vs bulk film
Every PPF installer chooses between cutting from bulk rolls and using pre-cut patterns.
| Pre-cut PPF kits | Bulk film, hand-trimmed | |
|---|---|---|
| How it is made | Plotter cuts film using vehicle-specific patterns | Installer lays film on the car and trims by hand |
| Knife on paint | Little or none | Required, needs care |
| Edge wrapping | Limited by pattern design | Full control; edges wrapped around panels |
| Speed | Faster on common vehicles | Slower, depends on skill |
| Material waste | Low, patterns are nested | Higher |
| Best for | Production shops, DIY PPF kits, common models | High-end work, rare vehicles, custom coverage |
PPF plotters and cutting software
A PPF plotter is a cutting plotter set up for thicker film, with the right blade, force and speed. Pattern software provides a database of vehicle templates for hoods, bumpers, fenders and full-body kits, usually by subscription. The software nests patterns on the roll width to cut waste. Plotter cutting needs testing: blade depth must cut cleanly through the TPU without cutting the liner so deeply that the film tears at pickup.
DIY PPF kits
DIY paint protection film kits are typically pre-cut pieces for headlights, door cups, door edges, mirrors or a partial hood. Small flat pieces are realistic for a careful owner. Full bumpers and full fronts involve heavy stretching and tucking, and most owners get far better results from a paint protection film installer.
How to apply PPF: step by step
This is the general sequence professionals use for a panel such as a hood.
- Wash and decontaminate. Wash the car, remove tar and iron fallout, and clay the paint. Check for chips or defects; PPF does not hide them.
- Correct the paint if needed. Polish out swirls on the panels being covered, because film locks in whatever is underneath.
- Final wipe. Clean panels and edges with an isopropyl alcohol solution, then rinse areas with slip solution.
- Prepare the bay. Dust is the main enemy. Work in a clean, well-lit, low-draft space, and wet the floor around the car if dust is an issue.
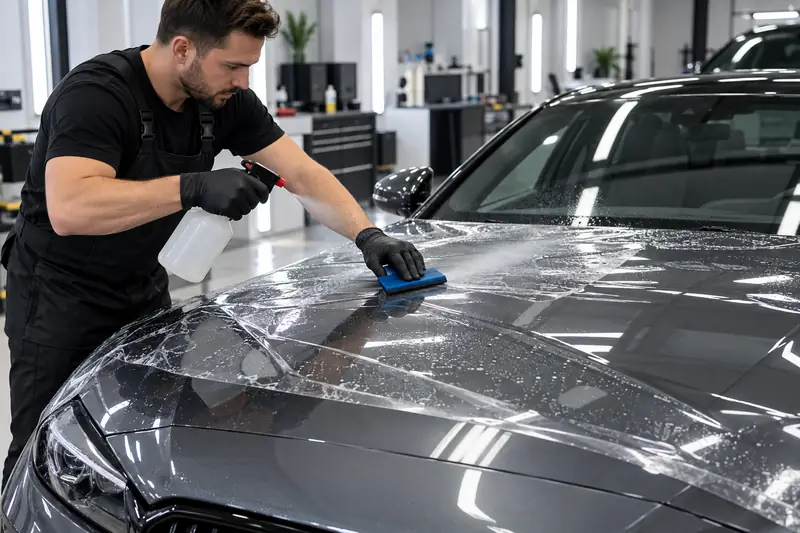
- Wet everything. Spray slip solution on the panel, your hands (or gloves) and the adhesive side of the film as you peel the liner.
- Position the film. Float it into place, align the edges and pattern, and create an anchor in the center or along a straight edge using a little tack solution.
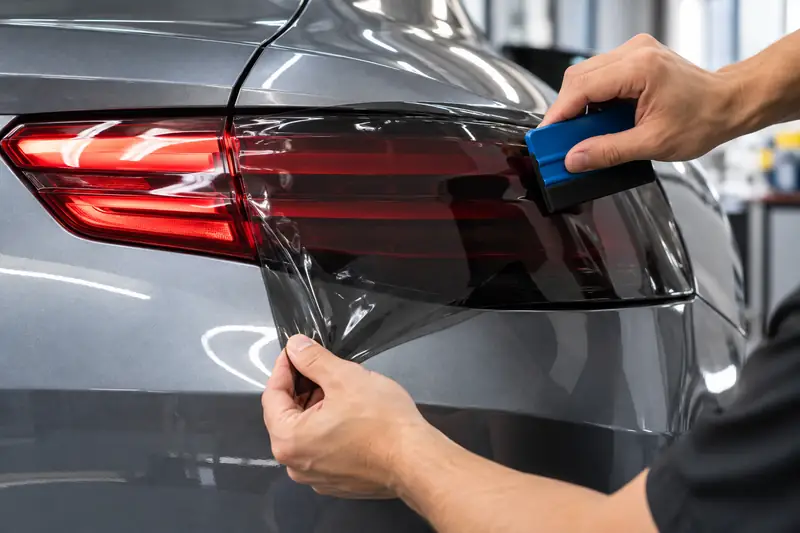
- Squeegee out from the anchor. Work in overlapping strokes from the center outward, pushing solution to the edges. Keep the film surface wet so the squeegee glides without scratching.
- Manage tension on curves. Stretch the film evenly into curves and recesses. Avoid overstretching, which thins the film and can cause lifting or visible stretch marks.
- Wrap or trim edges. Wrap edges around panels where the pattern allows, or trim with a fresh blade and minimal pressure. Flood edges with tack solution and press them down.
- Final check and heat. Check under bright light for dust, fingerprints and trapped bubbles. Light heat can help set edges and relax small tension lines, following the film's guidance.
Curing time
Small moisture pockets and a slight haze often disappear over the next days as remaining solution evaporates through the film. Most installers advise avoiding washing for roughly a week and avoiding pressure-washing edges for longer. Follow the specific film's care sheet.
Common PPF installation mistakes
- Rushing prep. Dust, wax residue and clay residue cause most visible defects.
- Too much soap in the slip solution. The film stays slippery and edges lift.
- Dry squeegeeing. A dry film surface scratches under the squeegee.
- Cutting on paint with heavy pressure. Knife marks in clear coat are permanent.
- Overstretching. Thin, stressed film lifts at edges and can show distortion.
- Leaving exposed sharp edges. Edges that end on a flat surface collect dirt and lift faster than wrapped edges.
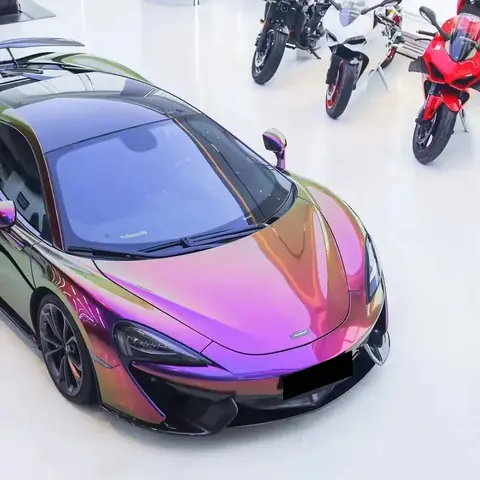
Color PPF installs with the same wet method as clear film, but alignment and seams are more visible because the color changes. The color PPF buyer's guide explains what to check when choosing a colored TPU film.
Paint protection film installation services and cost
Professional paint protection film installation services typically price by coverage: partial front, full front, track packages and full body. Prices vary by region, vehicle and film. For typical ranges, see our guide to PPF cost. Labor is the bulk of the price; film quality decides how much rework the shop does.
Sourcing PPF for your installers
Mars Decorative Film makes clear TPU PPF and self-healing color PPF on 1.52 × 15 m rolls, each batch-numbered and inspected before release. Installers can request free samples to test slip, stretch and plotter cutting before stocking a line.
Frequently asked questions
How to apply PPF without bubbles?
Prep the paint carefully, keep the bay as dust-free as possible, use enough slip solution, and squeegee from an anchor point outward with overlapping strokes. Small water pockets usually evaporate during curing; air bubbles or dust specks do not, so prep matters most.
How to apply paint protection film at home?
Start with small pre-cut pieces such as door cups, headlights or mirror caps. Wash and clay the paint, use a slip solution of water and a few drops of baby shampoo, position the film, and squeegee the solution out. Leave full bumpers and hoods to a professional.
What is the best PPF slip solution recipe?
A common mix is filtered water with a few drops of mild, additive-free baby shampoo per liter. Adjust slightly for temperature and film type, and always check the film maker's guidance.
Do you need a plotter for PPF?
No, but it helps. A plotter with pattern software cuts vehicle-specific kits and reduces knife work on paint. Many high-end installers still cut bulk film by hand to wrap edges further.
How long should PPF cure before washing?
Most installers recommend waiting about a week before washing and longer before pressure-washing near edges. Haze and small moisture spots typically clear as the film cures.
What tools do I need for PPF installation?
At minimum: PPF squeegees, spray bottles for slip and tack solution, clay, an isopropyl alcohol solution, lint-free towels, a precision knife, a heat gun and good lighting. Plotters and pattern software are added as volume grows.
Is PPF harder to install than vinyl wrap?
Yes, for most installers. PPF is thicker, installed wet, and every dust speck or knife mark stays visible through the clear film. Vinyl wrap is installed dry and is more forgiving on prep.