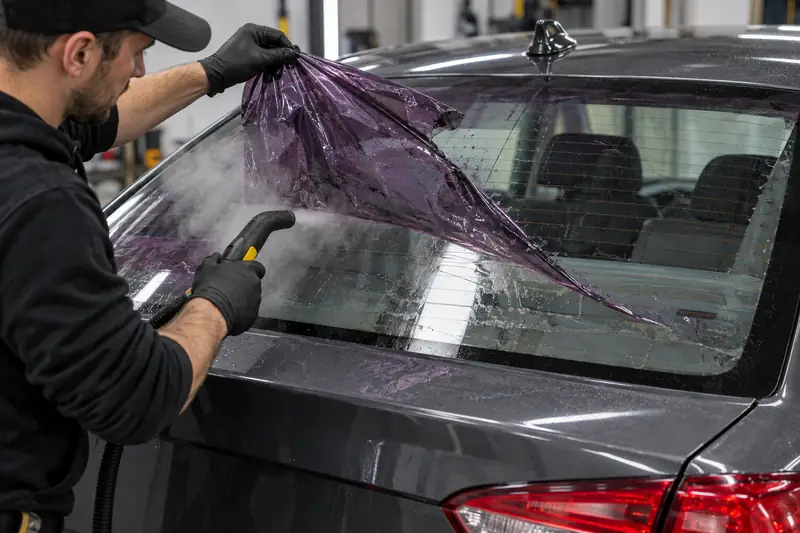
Window tint · 7 min read
Precut window tint kits vs bulk tint rolls: which should you buy?
Precut window tint vs bulk rolls: how pre cut kits are made, who they suit, what a DIY tint kit should include, install steps, and when a roll is smarter.
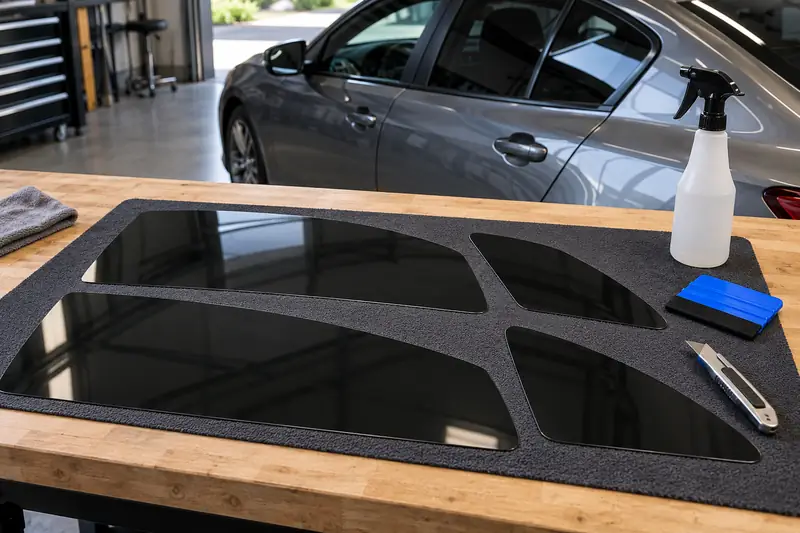
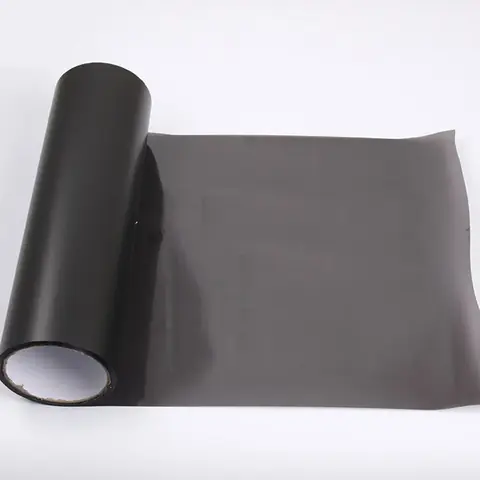
Short answer: Precut window tint is film already cut to the shape of each window for a specific vehicle, so a DIY installer only cleans, sprays, applies and squeegees. It suits one-off car owners and saves cutting skill. Bulk rolls cost less per square meter and suit tint shops, repeat jobs and installers who cut on a plotter or by hand.
Precut window tint is automotive tint film cut in advance to match the exact window shapes of a particular make, model and year, so it can be applied without trimming on the glass. It is the most common form of DIY window tint, and many tint shops also cut their own patterns from bulk rolls. This guide is for car owners deciding between a precut kit and a roll, and for shops weighing plotter cutting against hand cutting. It covers how pre cut kits are made, pros and cons, what a tint kit should include, install steps and cost.
Key takeaways
- Precut tint is cut on a plotter from vehicle-specific digital patterns, usually with a small margin for final fitting.
- Precut kits remove most knife work on the glass, which is the step where DIY installers damage seals and defroster lines.
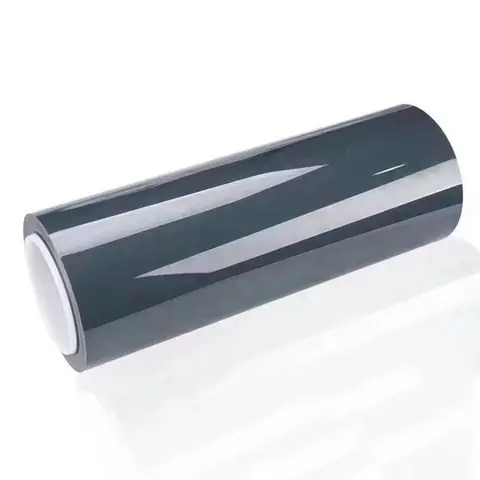
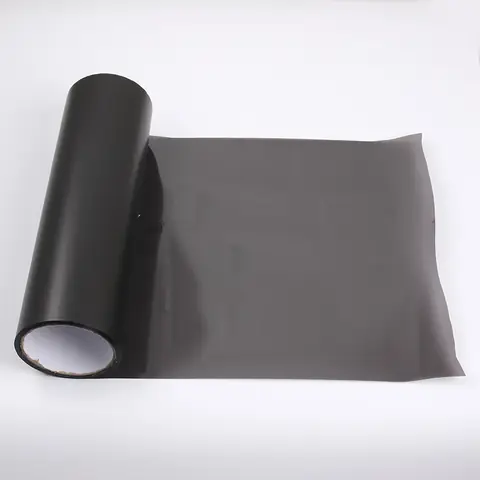
- Bulk rolls cost less per square meter and suit shops, multiple cars and anyone confident cutting film.
- Most kits cover side and rear windows; windshields and back glass with heavy curves still require heat shrinking.
- The film type and shade matter as much as the cut: precut ceramic window tint costs more but rejects more heat.
- A precut kit does not make a window legal; check allowed shades for each window before ordering.
What is precut window tint?
Precut window tint is roll film that has already been cut into window-shaped pieces using a computer-controlled plotter. The cutter follows a digital pattern for each window, traced from a real vehicle. The result is a set of pieces, often labeled by position, that match the glass with a narrow gap at the edges.
Most kits are cut slightly oversize at the bottom edge of roll-down windows, so the film can tuck under the door seal. Top edges are cut to sit just below the glass edge or to the dot-matrix line on fixed glass. Some precut auto tint kits also include back glass, either in one piece or as a pre-shrunk part.
Precut window tint vs bulk tint rolls
The choice comes down to how many cars you tint, your cutting skill, and how much you care about cost per window.
| Factor | Precut tint kit | Bulk tint roll |
|---|---|---|
| Best for | One car, first-time DIY | Shops, multiple cars, experienced DIY |
| Cutting needed | Little or none | Full pattern cutting by hand or plotter |
| Cost per square meter | Higher | Lower |
| Waste | Low, film already nested | Depends on cutting skill and nesting |
| Fit accuracy | Depends on pattern quality | Depends on installer or plotter |
| Back glass | Sometimes included, may need shrinking | Cut and heat shrunk on the car |
| Flexibility | Fixed vehicle and shade | Any vehicle, any window, spare film for redo |
A bulk roll gives you spare film to redo a window you get wrong. With a precut kit, a creased piece usually means ordering a single replacement piece. For volume buying, see the window tint rolls wholesale guide.
Pros and cons of pre cut tint
Pre cut tint solves the hardest DIY step, but not every step.
Pros:
- No knife on the glass, which avoids cut seals, scratched glass and severed defroster lines.
- Faster installs, often a few hours for a full set for a careful beginner.
- Consistent shapes from one car to the next, which is why shops use plotters too.
- Less wasted film.
Cons:
- Higher cost per window than cutting from a roll.
- The pattern must exactly match your vehicle's year and body style; facelifts and trim levels can change glass shapes.
- Curved back windows still need heat shrinking, which is the step most DIY tinting goes wrong.
- No spare film if you crease a piece.
What should a DIY window tint kit include?
A complete window tint installation kit has film plus the tools to apply it. Many kits ship film only, so check before ordering. A useful car tint kit includes:
- Precut film pieces for each window, labeled by position.
- A spray bottle for slip solution (water with a few drops of baby shampoo is common).
- A hard card and a soft squeegee for pushing water out.
- A lint-free towel or paper towels to wrap the hard card and wipe edges.
- A scraper blade for cleaning glass, used with care.
- A heat gun, needed only if the kit includes curved back glass.
Our window tint tools guide covers each tool and what to look for.
How to install precut window tint
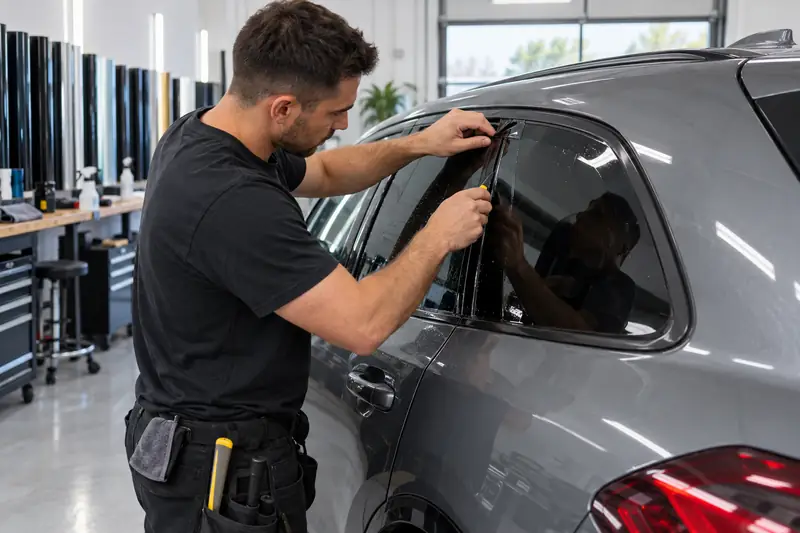
Installing precut window tint follows the same wet-application method as any tint, minus the trimming. For a fuller walk-through of DIY technique, including back glass, see how to tint car windows.
- Work in a clean, sheltered space. Dust and wind cause most bubbles and contamination.
- Clean the glass thoroughly. Spray, scrape and wipe the inside of each window, then clean the edges and gaskets.
- Test fit each piece. Hold the film, liner side out, against the outside of the glass to confirm it matches the shape.
- Peel the liner and wet the adhesive. Spray the adhesive side and the inside of the glass generously with slip solution.
- Place and slide the film. Position it with a small gap at the top edge, then tuck the bottom under the seal on roll-down windows.
- Squeegee from the center out. Use firm, overlapping strokes to push water to the edges.
- Wick the edges. Wrap a hard card in a towel and press along the edges to draw out the last water.
- Leave the windows up. Do not roll windows down for several days while the film cures.
After installation, follow the window tint aftercare guide for drying time and cleaning.
Choosing film for a precut kit
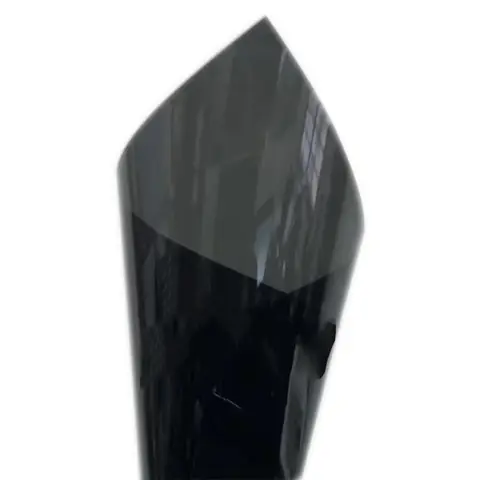
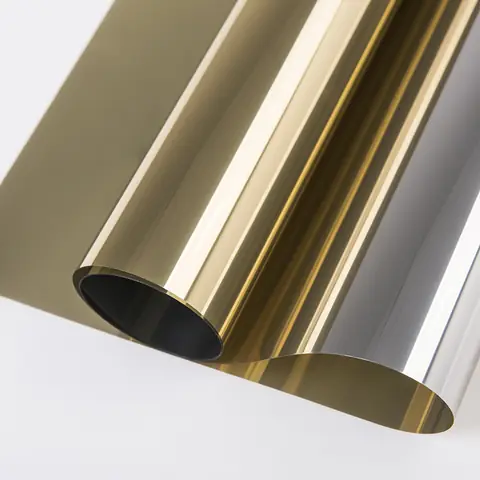
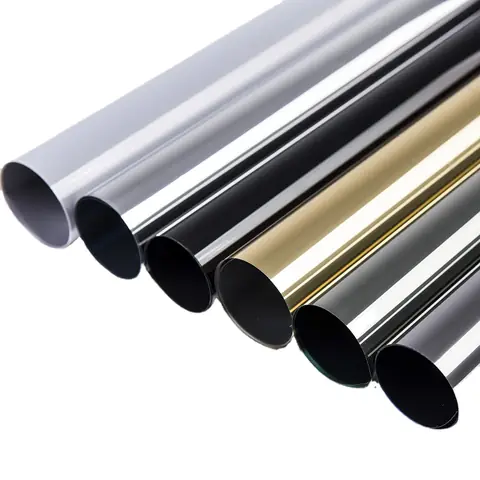
The cut gets the film onto the glass; the film decides how it performs. Precut kits are available in dyed, carbon and ceramic film, in shades from very dark to nearly clear. Precut ceramic window tint costs more, but it typically rejects much more infrared heat at the same shade. Our ceramic window tint guide and the car window tint guide explain the differences.
Choose shades window by window. Many drivers use a lighter shade on the front doors and a darker one on the rear. Check your local limits first; our window tint laws guide explains how they work, and your local DMV or transport authority has the current rules.
Precut paint protection film
Searches for pre cut paint protection film and DIY paint protection film follow the same logic: plotter-cut kits for bumpers, hoods and mirrors save trimming on paint. PPF is installed differently from tint, with thicker film and more stretch. See pre-cut PPF vs bulk rolls for the details.
How much does precut tint cost?
Precut tint kits for a sedan's side and rear windows typically range from roughly USD 40–100 for dyed film to USD 100–300 or more for ceramic film, depending on the vehicle, film grade and supplier. A professional install with the same film grade usually costs several times more, because labor is the largest part of the price.
Bulk film costs less per square meter, but you need cutting skill and some spare film. For a full price breakdown of shop installs, see how much it costs to tint car windows. All prices vary by market, vehicle and shop.
Precut vs rolls for tint shops
Most professional shops buy bulk rolls and cut their own patterns, either on a plotter with pattern software or by hand on the glass. Plotter cutting gives repeatable shapes, reduces knife work on customer cars and speeds up training. Hand cutting needs no software subscription and handles unusual vehicles. Many shops use both.
Mars Decorative Film supplies window and light tint film on 1.52 m wide rolls, wide enough for plotter nesting or full back glass, with an MOQ of one roll and mixed shades per order. We also supply squeegees, knives and other installation tools. Shops can request free A4 samples to test how a film cuts and shrinks before stocking.
Frequently asked questions
Is precut window tint worth it?
For a one-time DIY job, usually yes. Precut tint removes the cutting step, which is where most beginners damage seals or cut film badly. If you plan to tint several cars or already cut confidently, a bulk roll costs less per window.
How do you install pre cut window tint?
Clean the glass, test fit each piece, peel the liner, spray the adhesive and glass with slip solution, position the film and squeegee from the center out. Wick the edges dry and leave windows rolled up for several days while it cures.
Do precut tint kits include the back window?
Some do and some do not. Back glass is usually curved, so even a precut piece needs heat shrinking to lie flat. Check the kit description and be prepared to shrink the film or have a shop do that window.
Is precut ceramic window tint better?
Precut ceramic tint is cut the same way as other kits but uses ceramic film, which typically rejects more infrared heat and keeps its color longer than dyed film. It costs more, so it makes the most sense in hot, sunny climates.
What is the best pre cut window tint?
The best pre cut window tint has an accurate pattern for your exact vehicle, a quality film with clear specs and a warranty against fading and bubbling. Pattern accuracy matters as much as the film itself, so confirm the year and body style before ordering.
Can I tint my car windows myself?
Yes. Many drivers tint their own side windows with a precut kit and basic tools. Back glass is harder because of the curve and defroster lines. Work in a clean space, take your time and check your local tint laws before choosing shades.